Using Lazertran on Metal
Lazertran is an excellent way of producing decals for enclosures because it naturally provides a hard wearing transparent finish onto metal surfaces. It gives a comparable finish quality to screen printing whilst being just as economical and flexible for ‘one-offs’ as printing images onto photo paper.
Whilst useful, the instructions supplied with lazertran for use on metal are quite minimal and a little confusing. This is why I am writing this small, step by step photogrphic record on how I use it. It should help those trying to find out how it works and tips of how to get a good finish. My technique is not perfect so if you have any tips or suggestions on how to do it better please let me know Ben@clacktronics.co.uk
In a nutshell Lazertran is a polymer sheet that has the possibility to be fused onto metal; it is done by soaking off the paper backing , applying it and then heating it in the oven for a couple of hours. Once cooled the finish is strong, durable and glossy.
Preparing the Image
**I wouldn’t really recommend using colour laser onto metal, it can look a bit funny because the inks are transparent as they are designed for white paper. I am using a HP1022 which is HP’s budget printer from a few years ago and it works fine. Here is the image I will be using.
You need to reflect the image because we will be applying the image face down so the toner image is sandwiched between the metal and the lazertran. It is always best to check whether your image will come out properly first onto plain paper as relative to paper lazertran is not cheap!
I usually print my image at the top of the page leaving what I don’t need blank, this way later on I can put the left over paper back into the printer and print on it again. Check which side of the page your laser printer will print on when loaded into the tray and load the lazertran into it so the printer will print on its satin side not the greenish matt side. I usually put my printer onto ‘Media Type = transparency’ so it prints a nice thick black image.
All the Tools and materials Needed
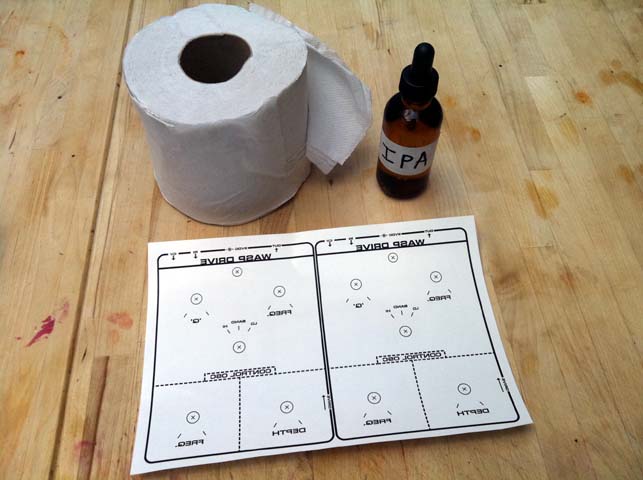
The great thing about lazertan apart from the sheet itself you don’t really need anything you can’t already find in your house. Here is what you need
-
A Laser Printer
-
Sheet of Lazertran
-
Scissors
-
Hairdryer
-
Domestic Oven
-
IPA, Meths, Acetone or any kind of degreasing solvent for cleaning
-
Paper towel (yes I am using toilet paper sorry!)
Preperation
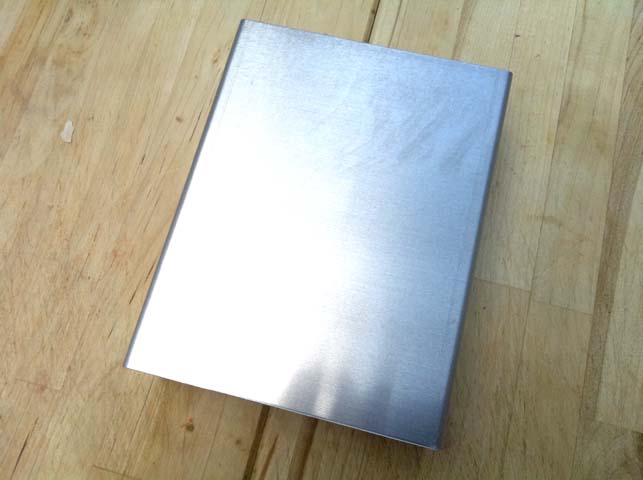
First thing you need to do is make sure your metal surface is completely smooth and grease free. If the surface is quite rough you will need to sand it down and maybe buff it, because it will be easy to trap air under it. Above is the metal I use, even though it comes with protective film , it is always very dirty.
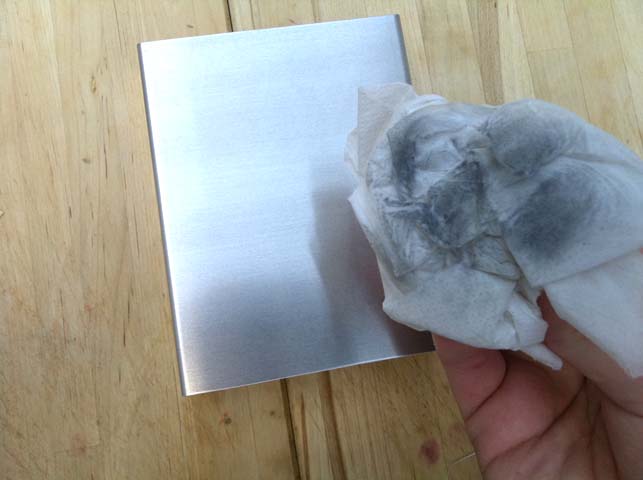
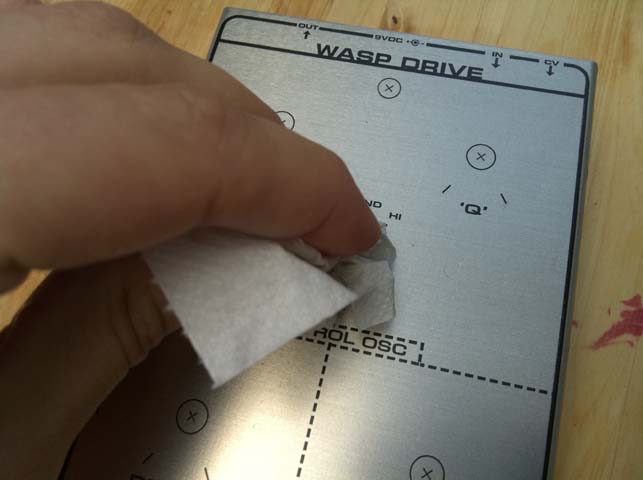
Just continually wipe it down until your towl no longer has any dirt on it, this will make sure that the Lazertran has a nice grease free surface to stick onto. Make sure you don’t touch the top with your hands from now on until you put on the Lazertran.
Prepare and apply the lazertran
It is recommended to heat up the lazertran with a hairdryer, suposedly to make the toner fuse to the paper better. I am not sure how effective it is but I always do it and get it really hot.
Neatly cut out the part you want to apply, the edges will be slightly visible even if transparent.
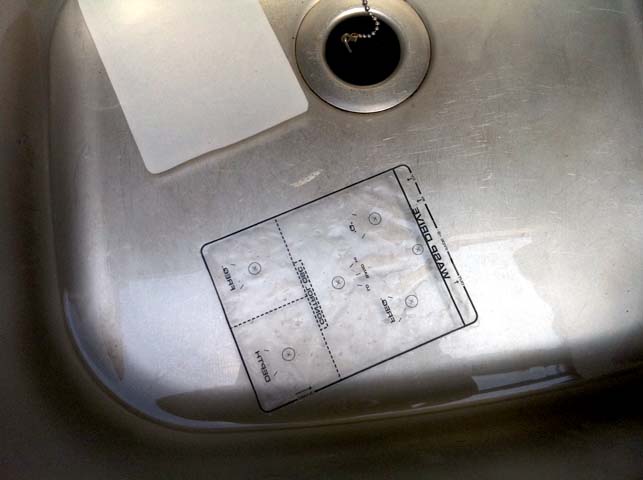
Make sure your sink or water bowl is really thoroughly clean, as any bits floating in the water can become trapped between the lazertran and the metal and then fill it with cold water.
Put the lazertran into the water holding it down , it will tend to try and curl up as it soaks the water. As you can see, it patchily soaks the water up, I am not sure, but I have noticed different batches of lazertran soak up water at different speeds - this lot was quite slow.
Whats happening is that the water is soaking through the paper backing and wetting the gum that is holding the transparent polymer sheet to the backing paper, this makes it loose and easy to remove.
Make sure all the paper has gone darker and there is no light patches left and then try to peel the polymer sheet off - it should be basically falling off anyway.
Don’t worry too much it is not super delicate so you can pull it a little bit if it gets stuck, just make pull it completely off. If it folds back onto itself , don’t worry just dunk it in the water and straighten it out, it wont stick to itself and then rip apart like tape would.
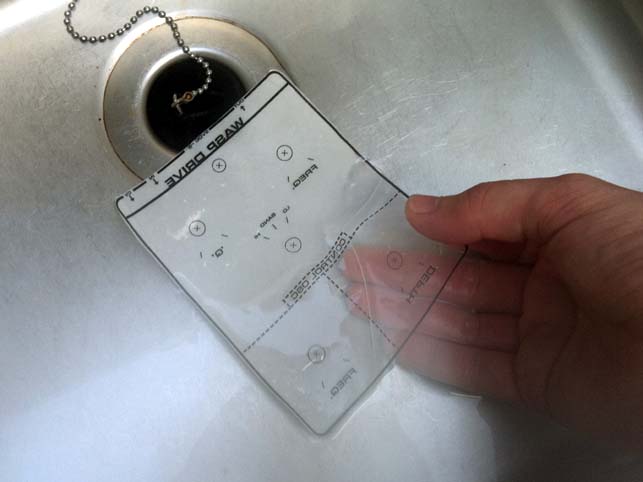
Then just pick it up and place it face down onto the metal you just cleaned. You can even put it on a vertical surface if you like, the water pressure will hold it. Don’t worry about the bubbles yet, just get it in the right position.
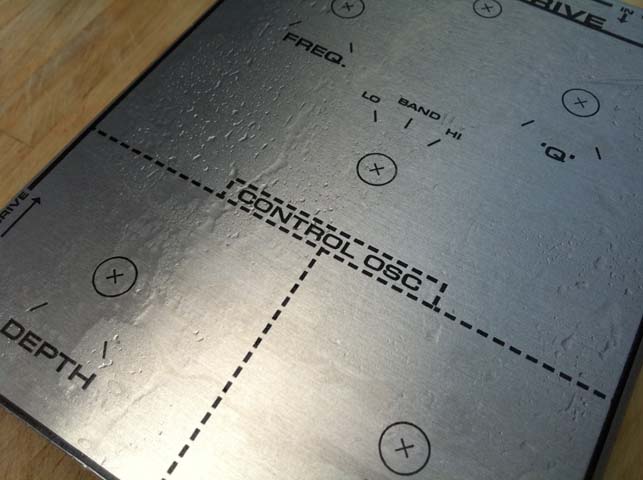
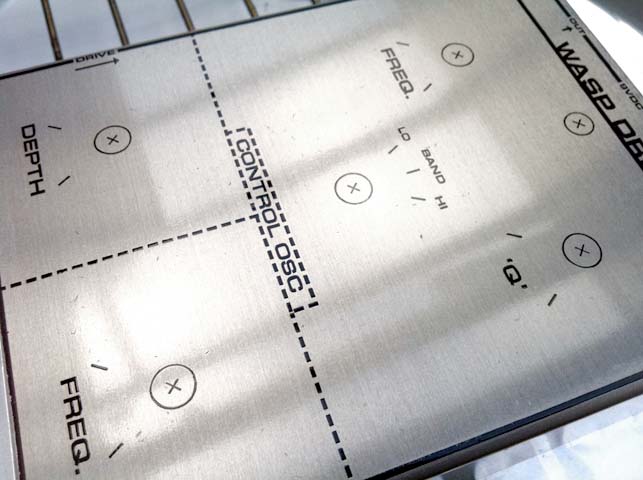
Here is it put onto my surface,
As you can see, lots of bubbles and the little bits you can see around the ‘Depth’ marking is the gum and bits of paper, we will wipe all this off and push out the air.
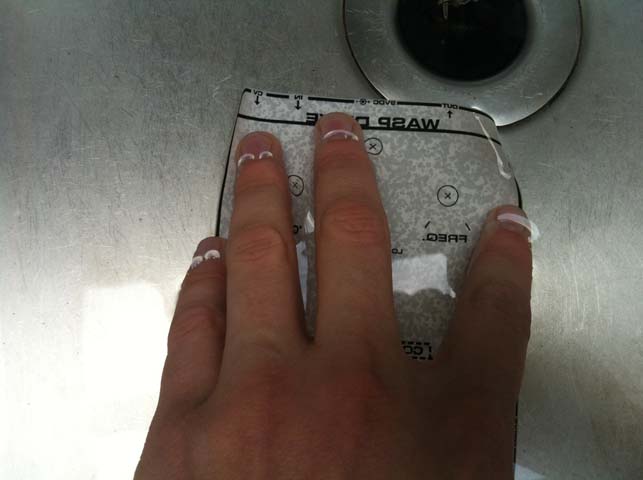
I do not use a squeegee as I found my finger much more useful. First I push out the big bubbles with the side of my finger. This usually removes the bits of gum and paper.
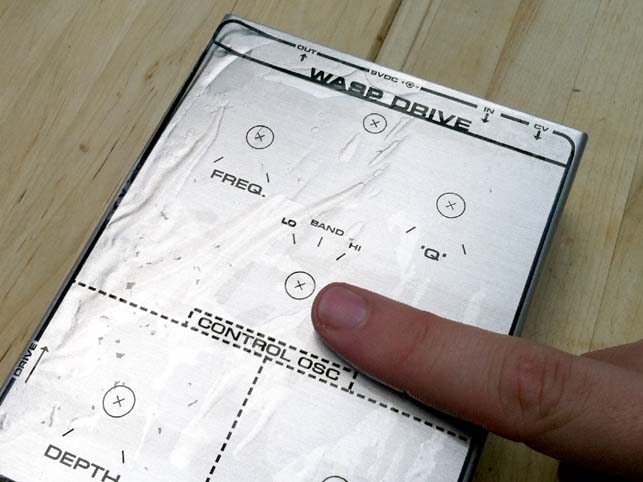
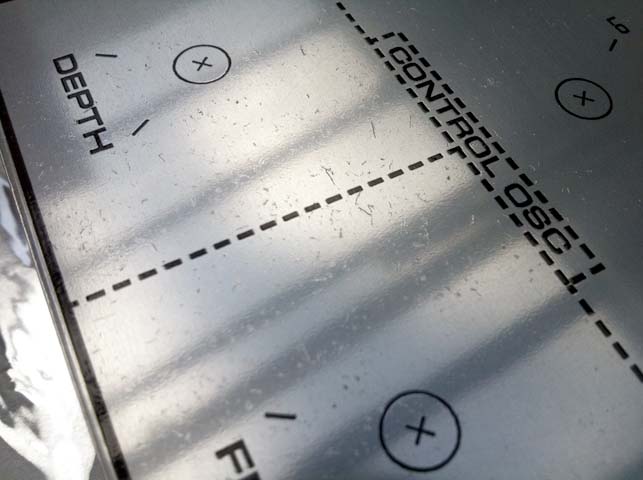
Until it looks like this below, you can see there are all kinds of little bubbles and lighter patches were the air has been removed but it is not completely attached to the surface. To remove all this I use the tip of my finger pushing firmly to the edge until it is all a consistent surface, don’t do it too hard.
It is important you do this bit properly as it will really affect your final transfers quality. Any trapped air will lift the lazertran leaving gaps in your design and give a rough surface.
Now we have to remove the water that is sitting on the surface, when I first started using lazertran I did not properly remove the water assuming It would just evaporate. This will not work, the water is not pure so it will burn on leaving water stains. I think this is very much to do with the kind of tap water in your area.
I soak off the water using paper towel, this isn’t a perfect way of doing it as it leaves little bits in the surface of the lazertran that has to be wiped off afterwards. A perfect solution would be something like a natural sponge which is very absorbent but doesn’t break apart.
It should now be nice and clean, if any bits are left on the surface just gently wipe off with your finger being careful not to pull on the sheet. If there is anything trapped inbetween the lazertran and the metal you could try re-soak it off but I don’t really recommend this.
Make sure all parts of the metal wet are completely dry, even the bits were you are not applying the lazertran as - depending on your water hardness, the water will leave a residue. This residue is a nightmare to get off.
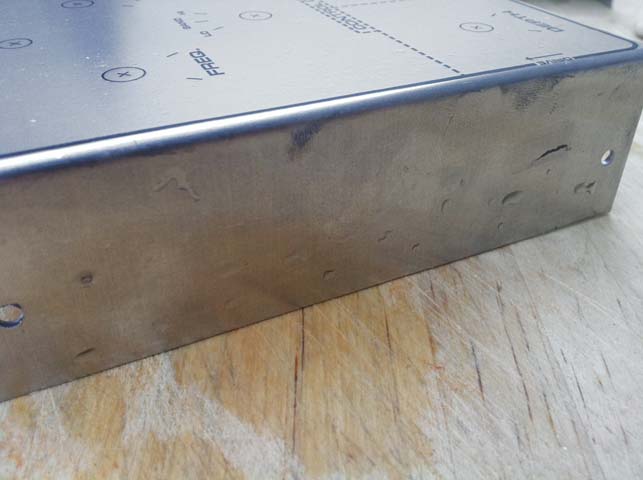
I always have to clean the sides of the enclosures.
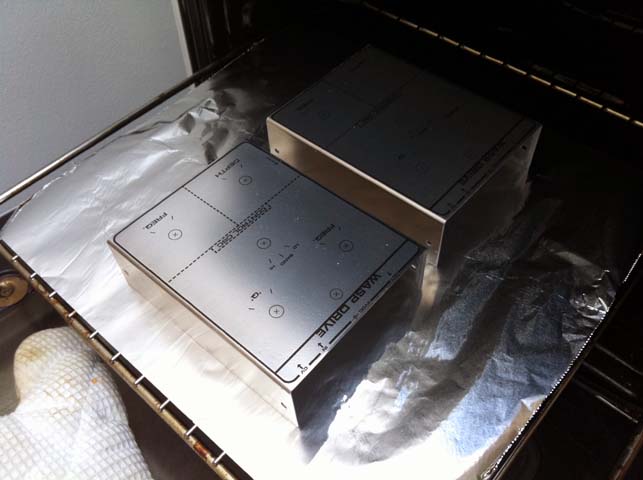
Then into the oven at its lowest heat setting , put them at the bottom of the oven so it doesn’t get too much direct un-even heat from the heating element. I use a really rubbish electric oven which proves it will work in almost any oven. The first hour just dries out the lazertran from all the soaking and then after that I gradually turn up the heat over an hour or so. Here is the process I use based on the original instructions.
Lowest setting 1 Hr Increase 25 Degrees 15 mins Increase 25 Degrees 15 mins Increase 25 Degrees 15 mins Increase 25 Degrees 15 mins Increase 50 Degrees 15 mins Increase 50 Degrees 15 mins
This is based on my oven, so you really have to test how yours works. If you have a fan oven you probably don’t even need to get to 200 degrees C.
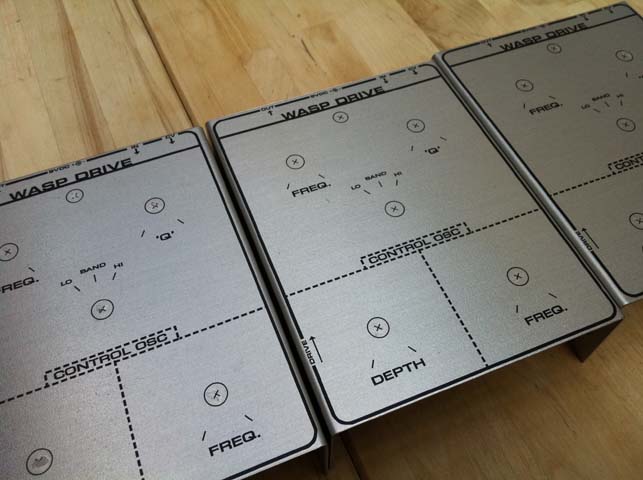
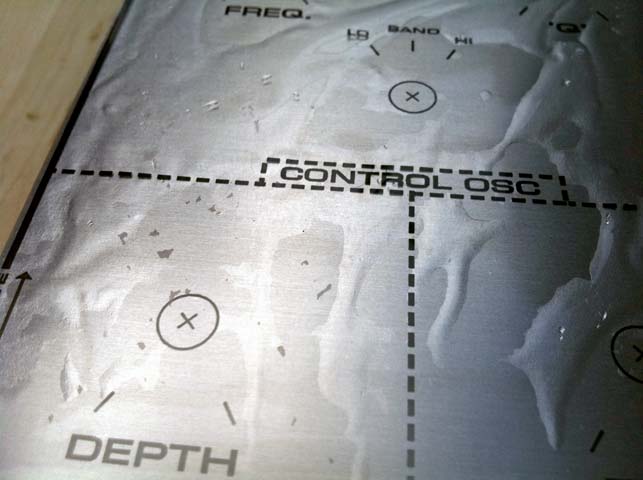
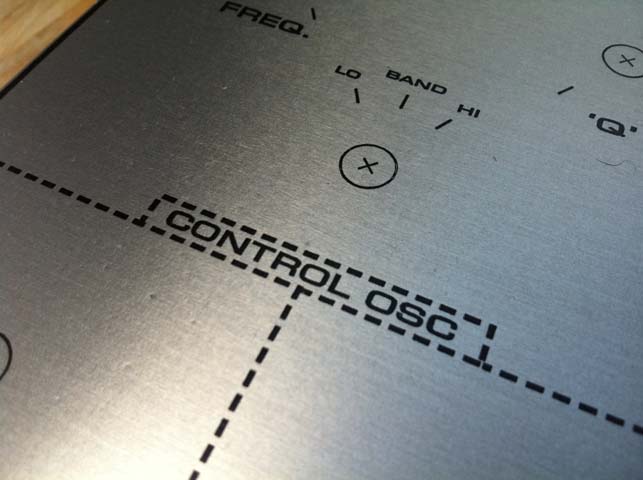
It should come out like above, you have to get it up to a temperature were the lazertran melts and goes really shiny. This is the point were the lazertran is fusing to the metal and is setting to a more durable state. The laser toner should sort of stick up in releif as shown below.
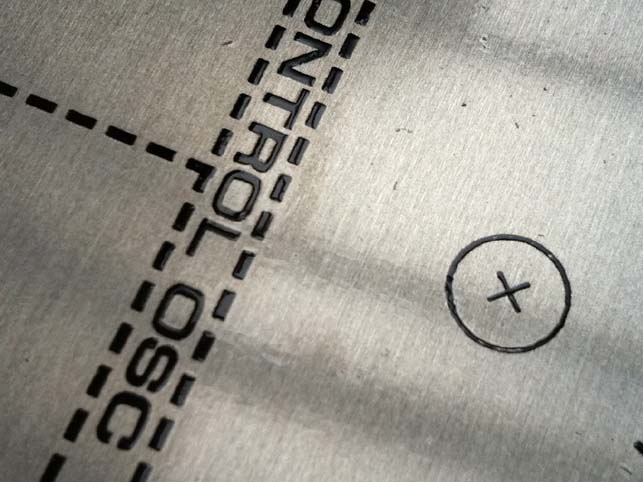
See how around the ‘o’ of control seems embossed. If not brought to this state the lazertran will be more hazy and there will be no relief.
Another test is to (when cooled!) try and scratch a discrete part with your finger nail , I do it in the drill hole areas. If it comes up or gets lighter because it is detaching from the metal you need to cook it more. Don’t worry if it hasn’t worked you can put it back into the oven and bring it upto temperature again - I think you can put it in for quite a long time. Once you have the timing right you will never have to worry about this.
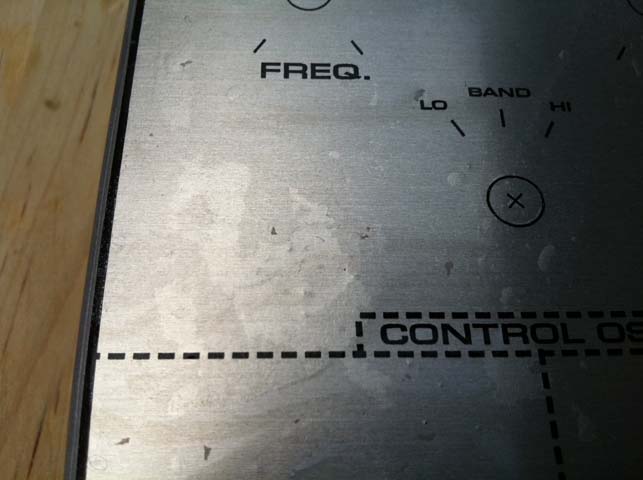
You can see here I didn’t completely clean off all the bits left from the toilet paper. It proves you have to make sure they are completely clean before heating. The best way to cover up defect like this is to lightly sand it after it cools and give it a spray of lacquer.
Then just pull it out and let it cool. At this point it is done and you don’t have to do any further finishing. I on the other hand like to add a polyurethane coating to give it a satin sheen and to make it even more durable.