Using Press'n'Peel
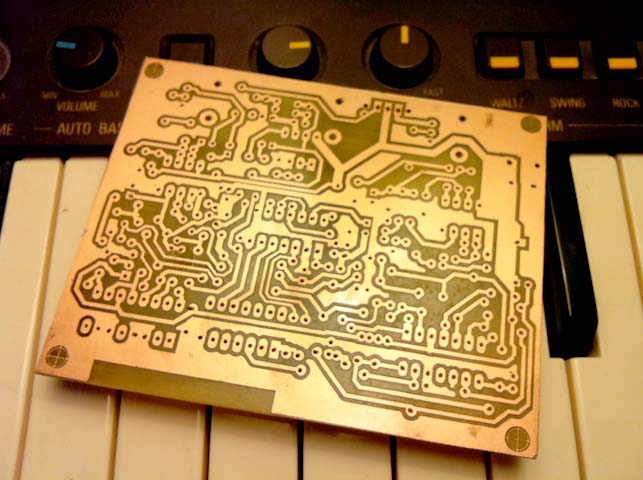 These days to make PCB’s you don’t need tones of expensive exposing equipment and bubble tanks, it can be done quite simply on your kitchen floor or in a garage and on a tight budget.
Press ‘n’ Peel is a brand of toner transfer system distributed by Tekniks. It is not the only brand available though, there is also Pulsar paper and I have read somewhere there is a far eastern company that produces it but I couldn’t find any info on this. It is also possible to do transfer using glossy photo paper, I used to use that method all the time. But this method doesn’t work so well with copper fills as solid toner areas tend to come out patchy. I used glossy paper for years it tends to be a bit more hit and miss, I now use the Tekniks brand as its the easiest to get in the UK and is also available to pick up and your local Maplin.
It is a really excellent way of producing PCB’s in an instant, you can whip up a perfect batch PCB’s in 30-40 mins. It is also detailed enough to do SMD soldering.
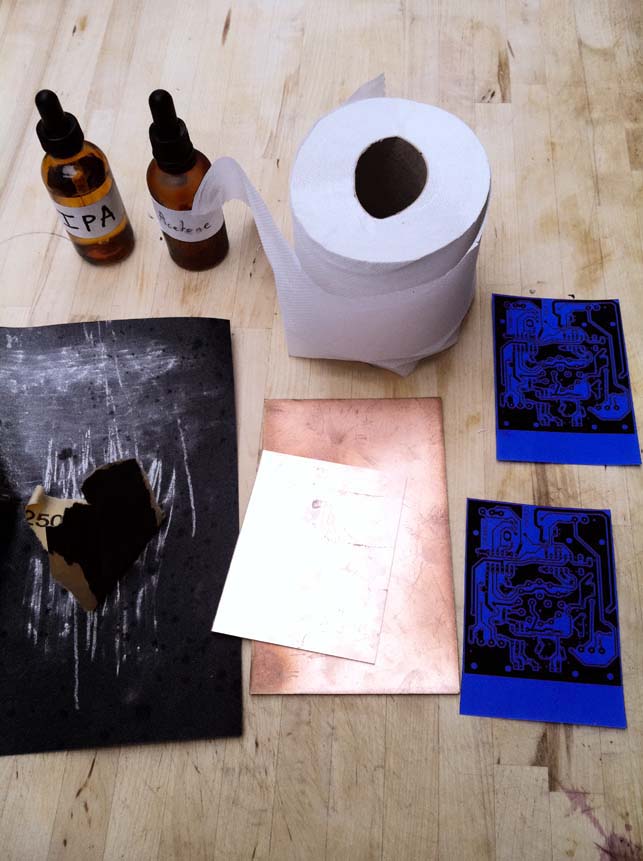
You don’t need much at all, here are the materials I use
-
Lazer Printer
-
Iron
-
Acetone
-
IPA (rubbing alchohol)
-
Fine abrasive
-
Paper towel (Toilet paper!)
-
Copper Board
-
Press’n’Peel
-
PCB drill
This board is dirty! I’ve had it hanging around for ages so its all oxidized and gerrreeasy! if you buy board and its fresh from the seller don’t bother sanding it down it will work fine. But if its like this just rub it down with some fine ‘Wet and Dry’ (say 1000) with water till it gets bright and even coloured, this removes the oxidized surface making it more consistent to use when etching.
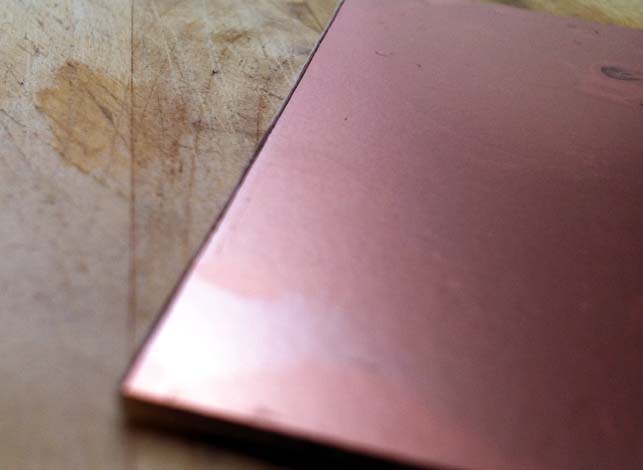
Some boards especially ones you have cut will have burrs on the edges, it is best to sand them off as it can make the image not stick around the edges. Just lie some sanding paper flat on the desk and rub the burred edge against it until it becomes flat.
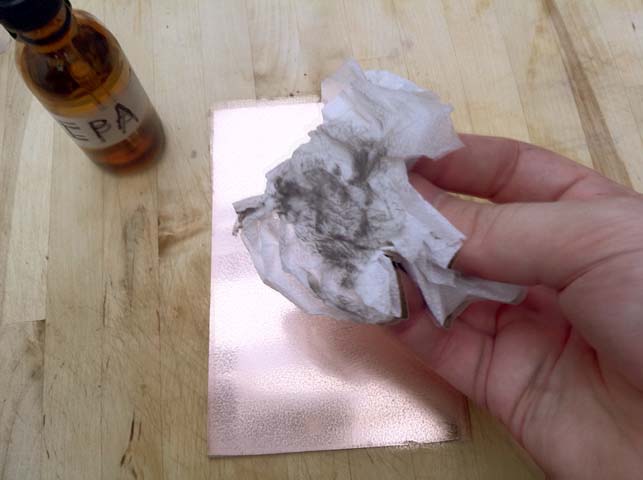
Whether new or old it is a good idea to de-grease the surface of the PCB. I use IPA (no not pale ale) as its a bit less harsh on the hands, but the acetone that we will be using later on can also be used. Just rub it down until the towel you are rubbing it down with comes up clean.
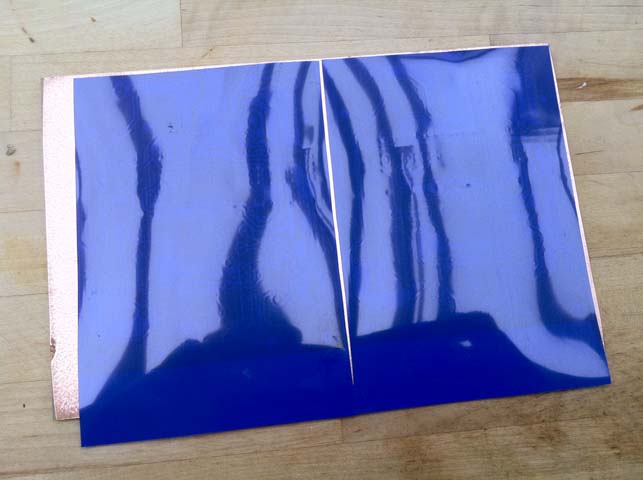
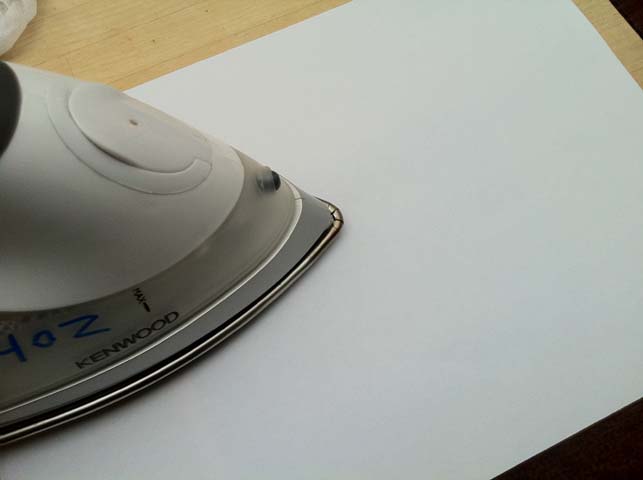
Now …. My images are all cut out separately, I have no idea why, but having all the images on one big sheet is fine, I cut them so there is an overhang on one side to make it easy to peel off. The next step is to make the P’n’P image stick to the copper board. The beauty of P’n’P is that it is semi-transparent so you can align it quite easily by holding it up to the light. I gently lay the images up then place a piece of paper over the top, the paper helps the iron to glide over the top and prevents the iron from catching on the film.
According to the instructions the iron needs to be set somewhere around ‘Wool’ I put it a bit higher and not had much of a problem. I begin by just pressing down gently and rubbing over the entire board to get it up to temperature. Keep lifting up the paper and see that is is stuck completely flat to the surface.
Once that is done and the board is up to heat you need pressure to fuse the image down onto the board. Some people have a trick of using a rolling pin or metal pipe, but I found I can get perfect results with just the iron. The trick is knowing how long to do it, the fact is it is better to over do it than under.
The only thing you need to be careful of is not to spread or distort the image, this can be mistakenly done by pushing across the sheet too hard. Downward pressure is important but we don’t need hydraulic press levels!
I start by putting the iron on its tip and rubbing the whole board left to right top to bottom in a circular pattern. This ensures every little bit of the image has had attention - do a bit extra around the edges as these parts tend to not stick so well.
I also put the iron on its side edge and push it across the board too, try not to do this too hard as it can move/smear the image or cause traces to spread. Keep doing both of these processes somewhere around 5 mins is usually best.
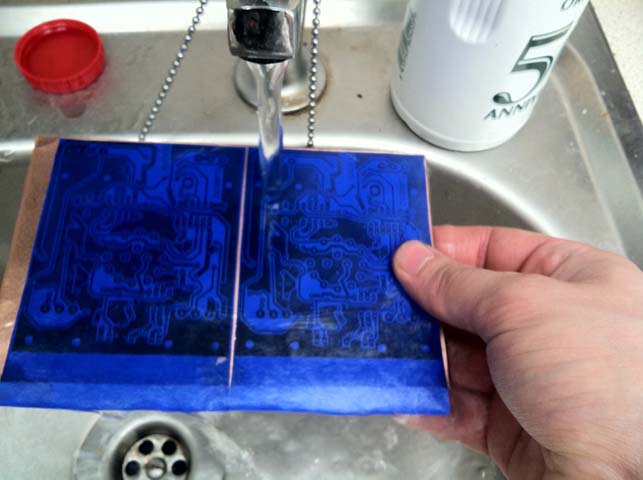
If you peel it off whilst still hot you will not get very good results, this is because the toner is still sticky and not set so it will come off. Cooling it down with the tap makes it quicker than waiting.
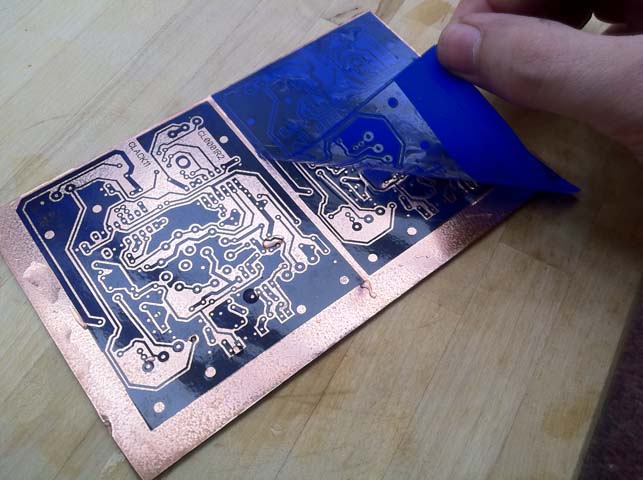
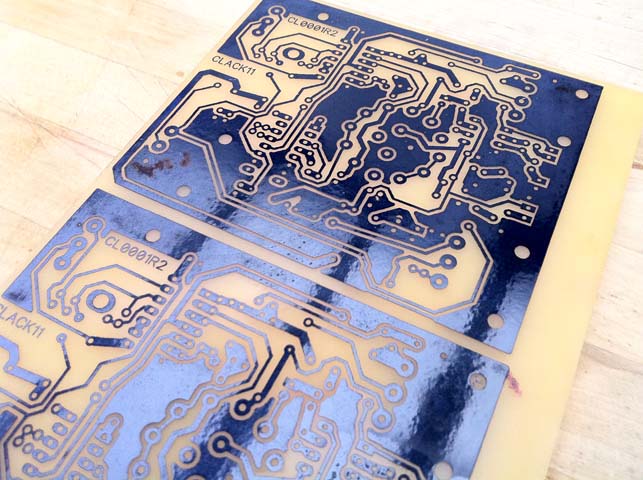
Now you should be able to peel the image off, it takes a bit of practice to tell when its right, but once you get it down you can get perfect results all the time. If any of the image doesn’t stick, you can dry it out then cut out the missing section from the sheet and iron it down on that part of the image.
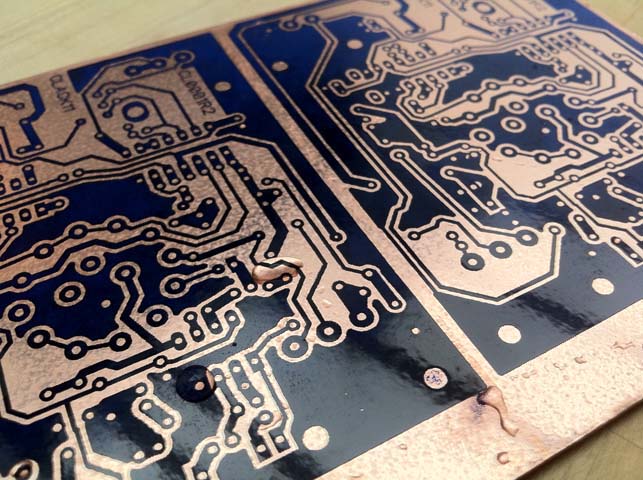
Perfect!
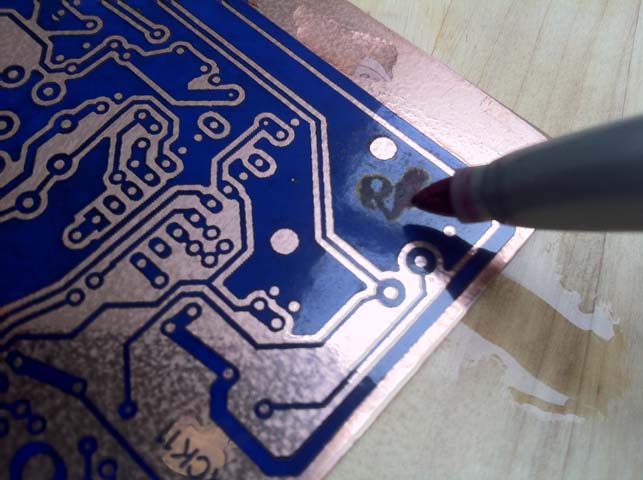
if you are fussy or there is a defect you can fill those parts with any indelible marker
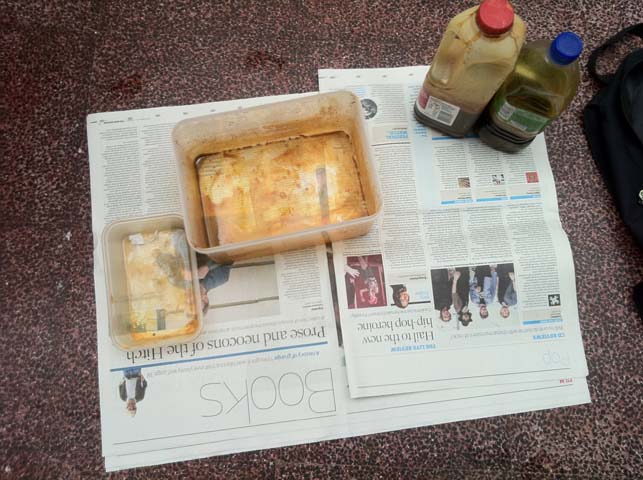
To etch all you need is some etchant, a big enough Tupperware box with steep sides and a container for the liquid. The most common etchant is ferric chloride, the good thing about it is that it lasts a very long time once you mix it up and it is cheap! The downside is that it is extremely staining and very dark so it can be hard to see your board. It is not a dangerous chemical as long as you dont bath in it or throw it in your eyes!
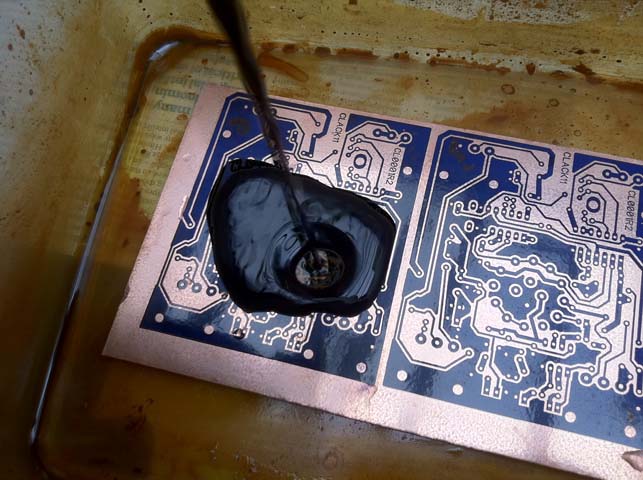
Follow the mixing instructions on your etchant ( I usually make it a bit more concentrated than advised ) then but the board in the bottom of the box and pour on, pouring helps to stop bubbles forming.
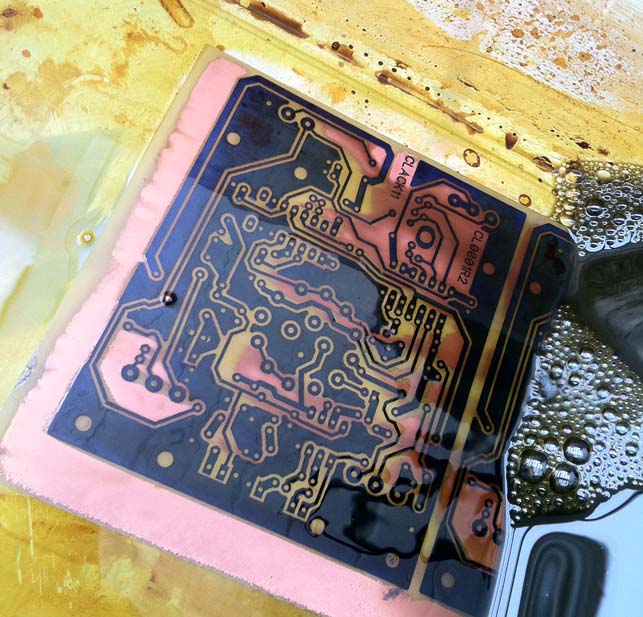
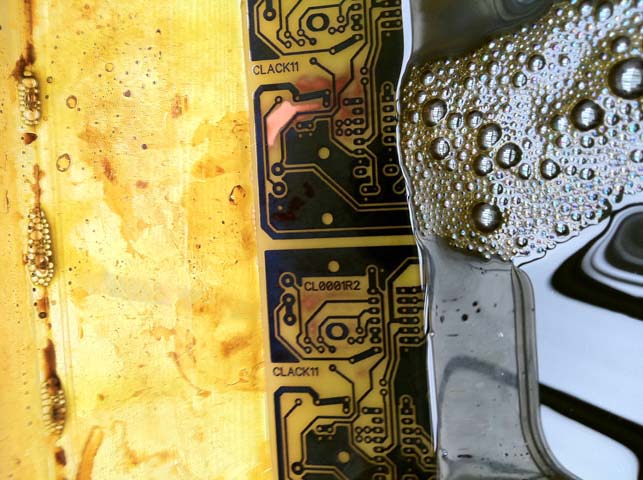
You will have to agitate it, this means swishing the mix around for about 5-10 mins, it is not instant! but it is pretty obvious when the copper is almost gone as seen below.
The copper will not come off consistently, just swish until all the copper is gone.
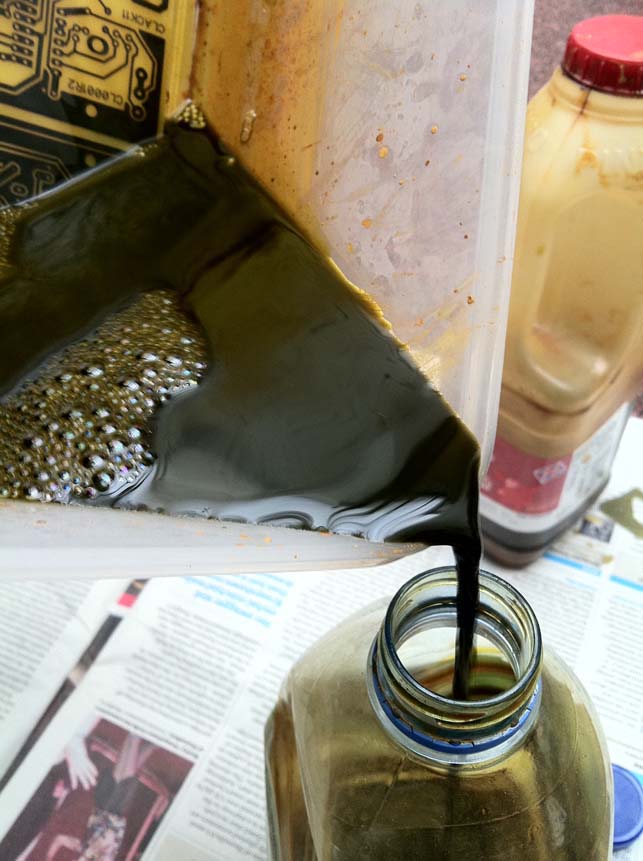
Then pour the acid into a container for future use. It needs to have a lid! and not be made of metal!!
When all the acid is gone, pick up the board with paper towel and rinse it under the tap. Rinse it thoroughly until all the acid is gone, be careful of your kitchen sink! anything metal can be tarnished with this stuff!
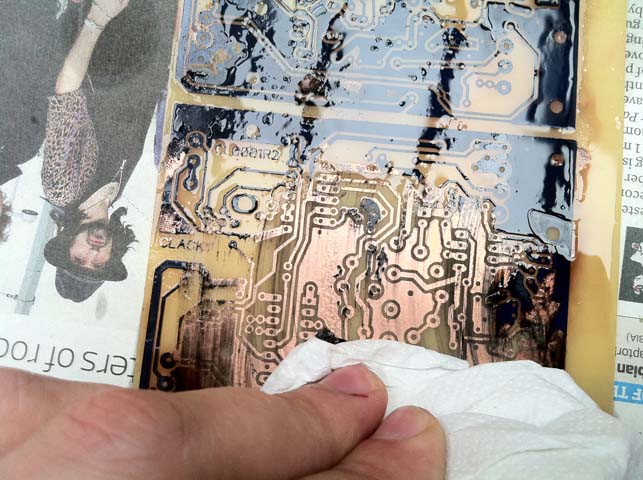
There are 2 ways of removing the P’n’P resist, either using wet and dry or Acetone. I use Acetone because it is less back breaking work and is less scratchy on the copper. Just pour a little bit on, let it sit there for a few seconds then wipe off. If you use the cheap paper based board like me, I am afraid this technique will stain the board with black, this has no electrical influence, it just looks ugly. Sorry about the Kasabian image! … rubbish band.
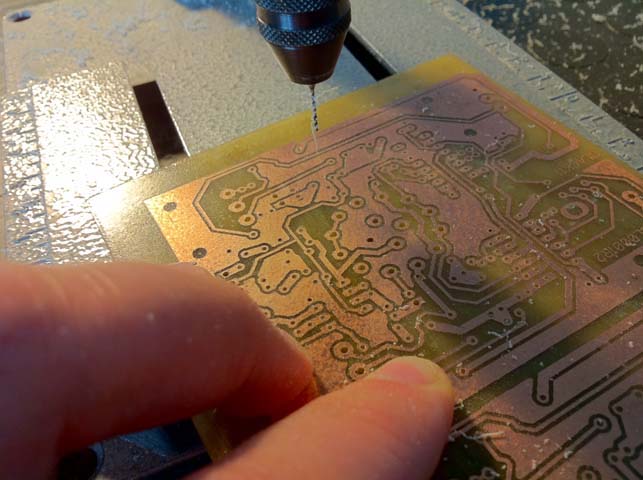
Done! now all I need to do is drill it, if you are doing a lot of holes like me ( 300 + ) then it is just not worth doing it by hand drill or pillar drill. A specialist PCB drill or press mounted hobby drill is a must, I use standard .9mm PCB refurbished ( resharpened from a factory ) drill bits for regular components and 1.2mm for wire and mounting holes.
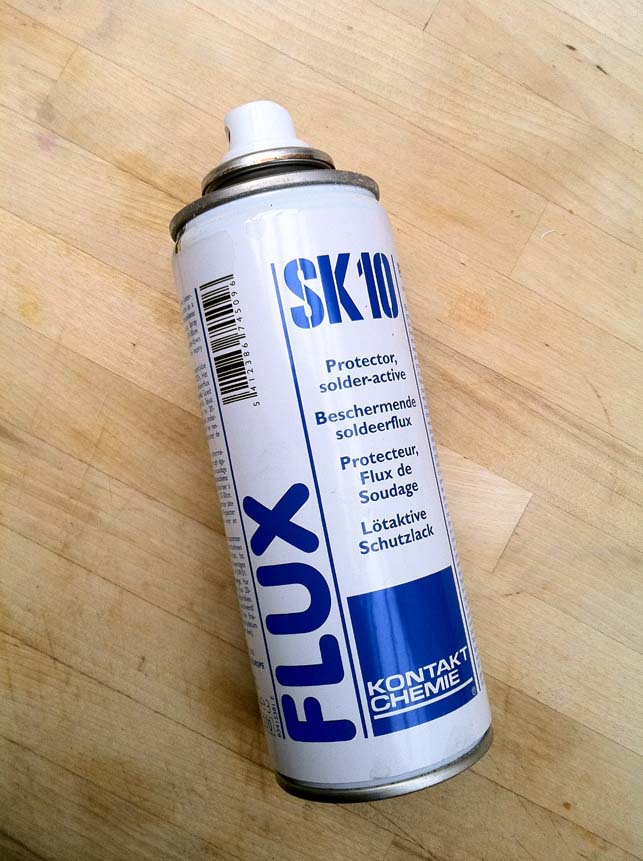
Some people like to use acrylic spray at the end of soldering to protect the copper from corroding but the problem with this is that it makes it impossible to modify or repair the PCB in the future. I used to just leave the PCB’s unprotected and they would oxidise until I found this flux spray.
You simply just spray it on the board after cleaning and it protects the board from corrosion. Then when soldering it doesn’t get in the way, you can just solder right through it , in fact it helps as it is flux!!
If anyone has any further questions or ideas about improvement, feel free to comment below and I will try my best to reply.
